Image compression sits at the center of modern web performance. Every oversized image costs loading time, mobile data, and search visibility. Yet many people still treat compression as a risky compromise that automatically ruins quality. In reality, good compression is about making smarter trade-offs. Done well, it reduces file size dramatically while keeping images visually sharp enough for real-world use.
If you publish product photos, blog images, landing page assets, or UI screenshots, compression should be part of your normal workflow. Smaller images load faster, improve user experience, and help Core Web Vitals. That's why browser-based tools like our Image Compress tool are useful: they let you reduce size quickly without uploading private files to a server.
What is image compression?
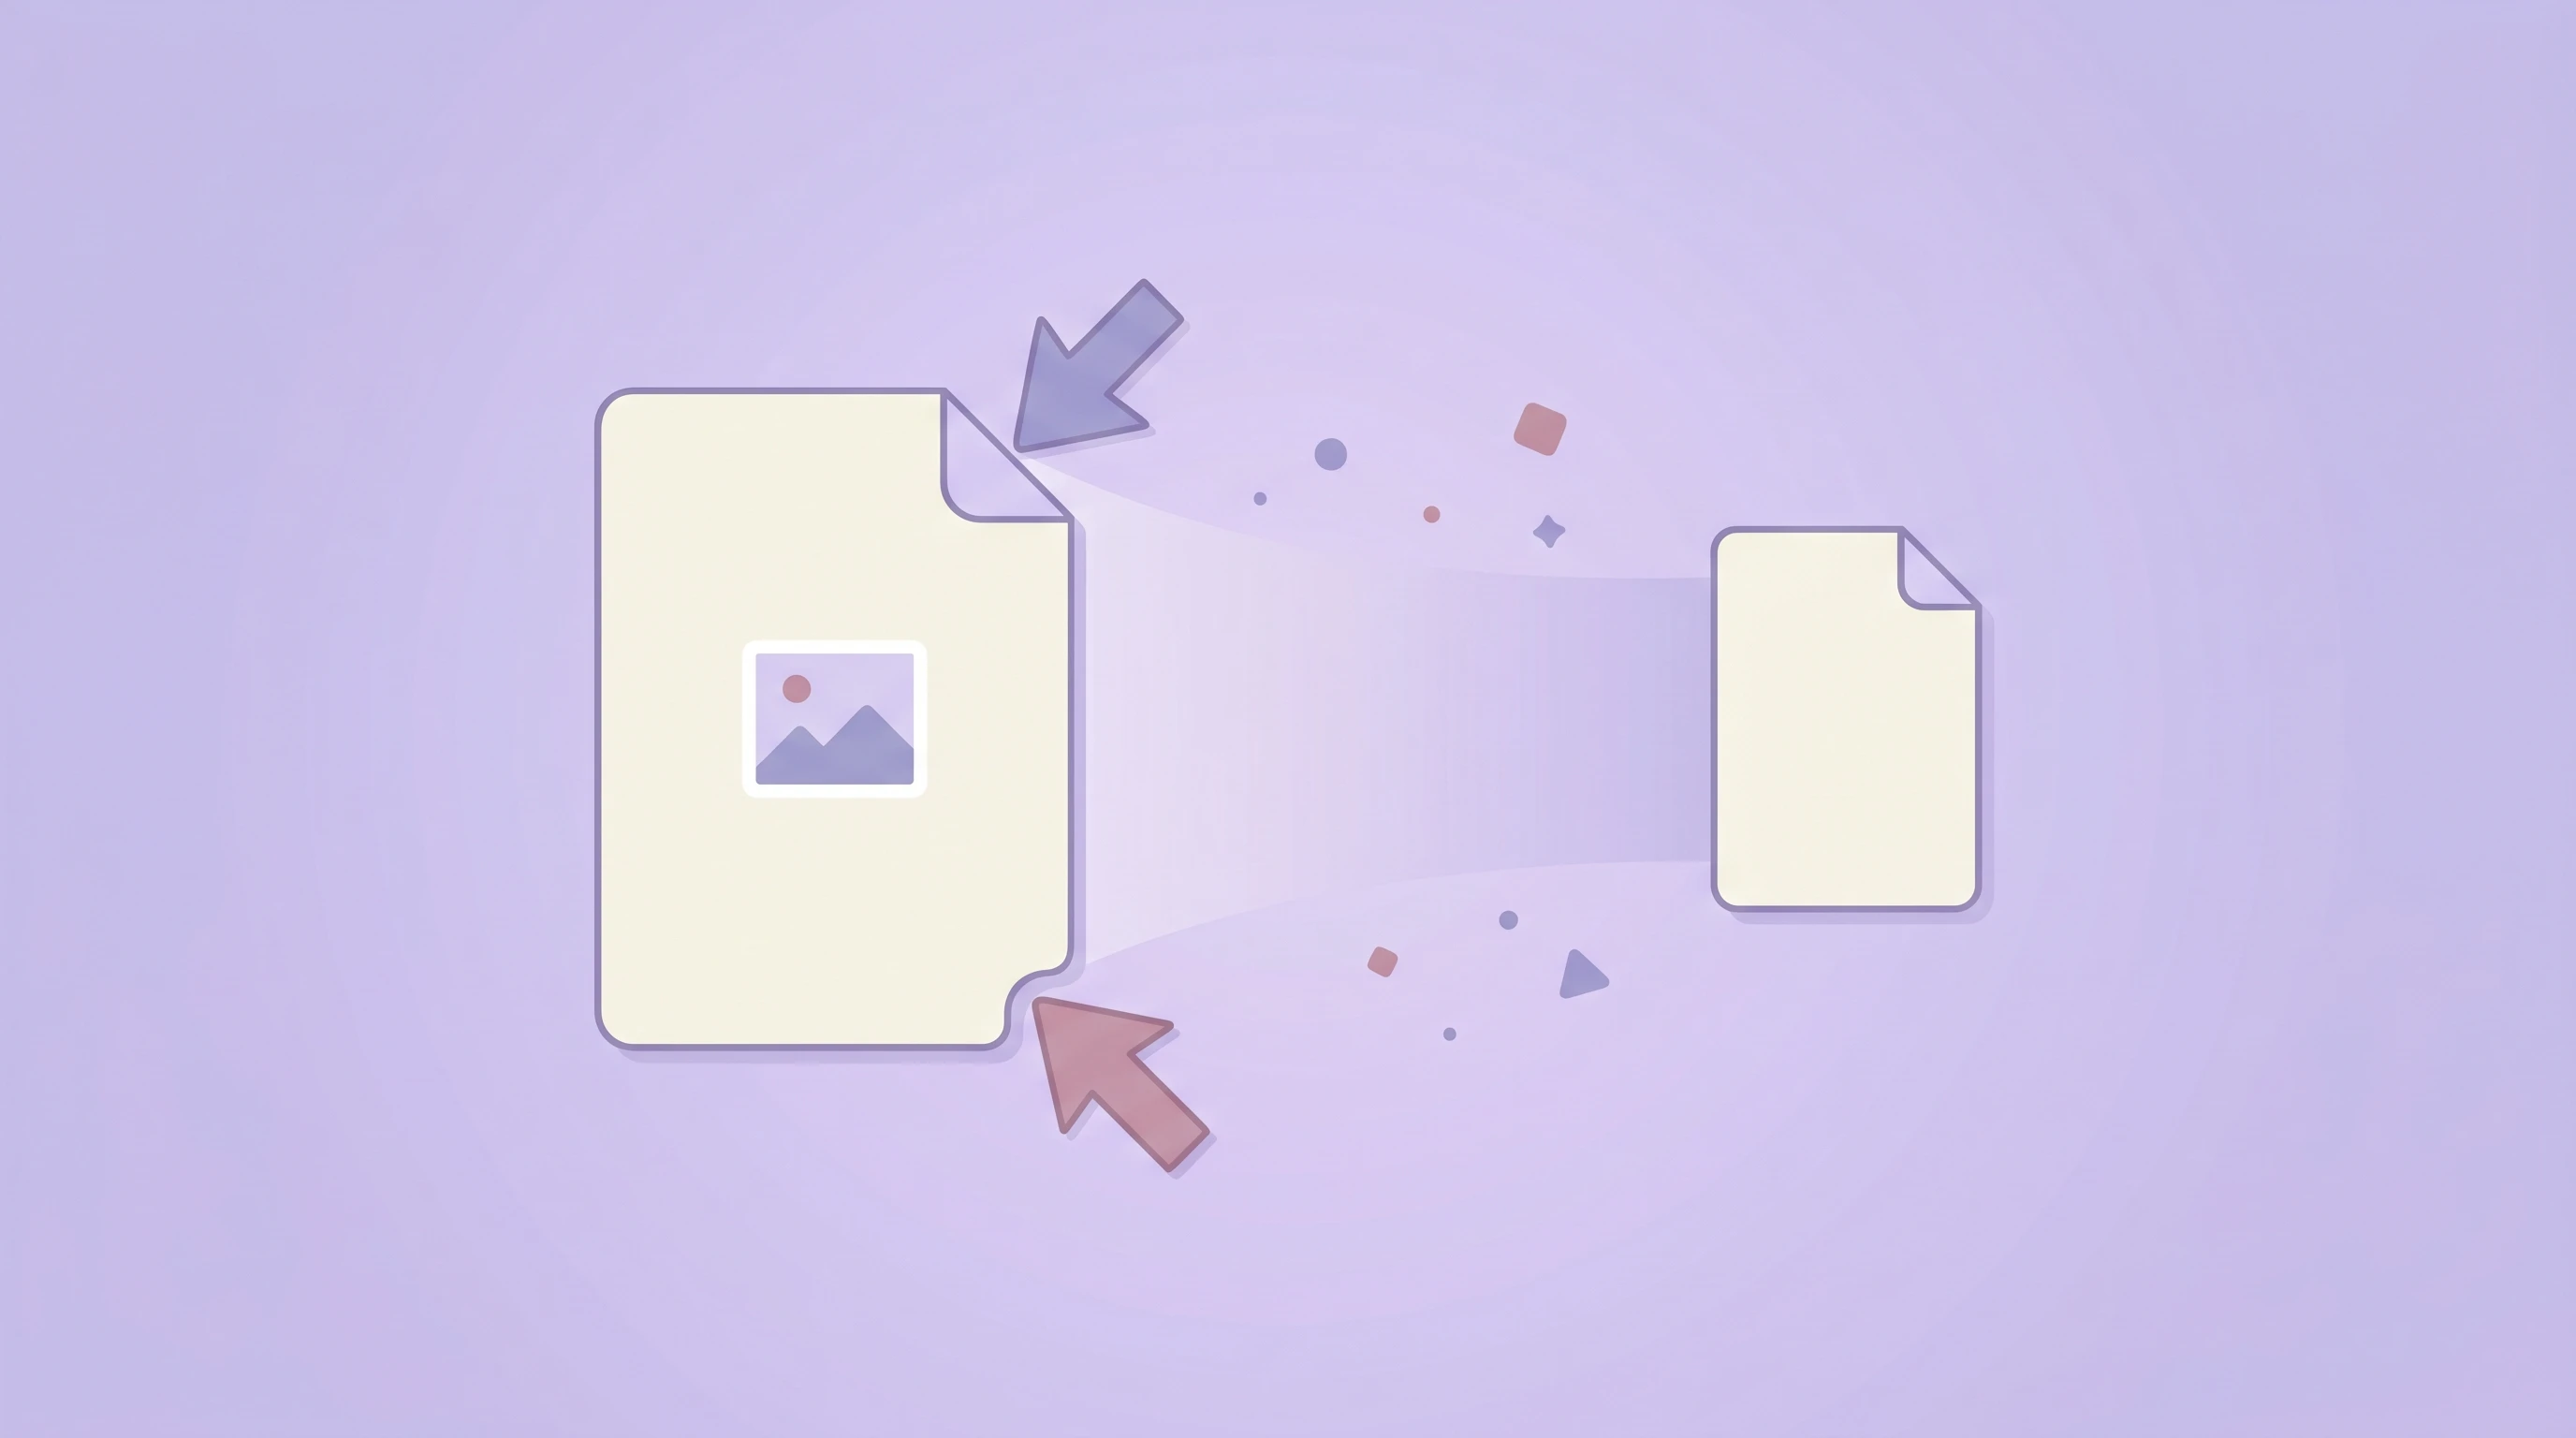
Image compression is the process of reducing a file's size so it takes less storage and transfers faster over the internet. There are two main approaches:
- Lossless compression keeps all the original image data. The file becomes smaller through more efficient encoding, but the visual output remains identical.
- Lossy compression removes some data in a controlled way. The result is a much smaller file, but the image may lose some fine detail depending on the compression level.
Neither method is universally better. The right choice depends on what the image is for, how visible compression artifacts would be, and how important speed is in that context.
Lossy vs lossless: when should you use each?
Lossless compression is ideal when exact pixel fidelity matters. Logos, graphics with sharp edges, transparent interface assets, and screenshots often benefit from a lossless approach. The problem is that lossless files are usually larger.
Lossy compression is better when reducing file size matters more than perfect preservation. Photographs, hero banners, social previews, article thumbnails, and content images usually work very well with lossy settings. In many cases, the visual difference is almost impossible to notice while the file size drops substantially.
Compression is not about chasing the smallest possible file. It is about reaching the smallest file that still looks correct in its real viewing context.
How different image formats behave under compression
Compression results vary a lot depending on the format you start with.
JPEG / JPG
JPEG is a classic lossy format. It responds very well to quality adjustment, which is why a quality slider is so useful. Lower settings create much smaller files, while higher settings preserve more detail. For most web photography, a mid-to-high quality range is often enough.
PNG
PNG is designed around lossless quality. That means browser quality sliders do not work the same way they do for JPEG or WebP. You can still remove some metadata or re-encode the image, but size reductions are often limited unless you convert to another format.
WebP
WebP supports both lossy and lossless compression, which makes it one of the most flexible modern formats for the web. It often delivers smaller files than both JPEG and PNG at comparable visual quality, especially for browser-facing content.
Why compression matters for Core Web Vitals
Large images are one of the most common reasons pages feel slow. If your main content image is heavy, your Largest Contentful Paint (LCP) will often suffer. That directly affects user experience and can also hurt organic visibility over time.
Compression helps in several ways:
- Faster LCP because the browser downloads large visuals sooner
- Lower bandwidth use for both mobile and desktop visitors
- Better perceived performance because pages become usable sooner
- Higher publishing efficiency when teams manage many assets at scale
Even a few hundred kilobytes saved on each image can make a noticeable difference across a content-heavy site.
What compression level should you choose?
There is no perfect number for every asset, but a practical starting point for web images is often somewhere between 70% and 85% when using a lossy format. That range usually creates a meaningful reduction in size without obvious quality damage.
Still, context matters:
- Product photos: stay on the higher side if detail affects trust or conversion
- Blog images: moderate compression is usually safe
- Background images: can often tolerate more aggressive compression
- UI screenshots: avoid overly aggressive JPEG settings because text and edges degrade quickly
The safest workflow is to compress, inspect visually, and adjust once. That is exactly why an adjustable browser-based compressor is practical.
Why PNG often does not shrink much
This is one of the most common points of confusion. Many users expect every image to shrink dramatically when they move the quality slider. But with PNG, the browser's quality parameter usually has no effect. PNG is lossless, so the file often stays close to its original size unless the encoder removes metadata or the image is converted to another format.
If your goal is the smallest possible file for web delivery, PNG is often not the best final format. In many cases, converting that image to WebP gives a much better result. If you must keep PNG because of compatibility or workflow needs, compression gains may be modest.
How to compress images safely online
The easiest modern approach is local browser compression. With the 24Picture Image Compress tool, you can drag in JPG, PNG, or WebP files, adjust quality, and download the compressed versions immediately. Since everything runs in the browser, your files stay on your device.
This offers several benefits:
- Privacy — no server upload for routine assets
- Speed — less waiting on transfers for small and medium batches
- Convenience — no extra software installation
- Control — instant feedback on quality vs file size
Best practices for everyday compression
- Choose the right format first. Compression works best when format choice is already correct.
- Do not over-compress text-heavy graphics. Edge artifacts become obvious fast.
- Keep originals if the assets may need future editing or different export settings.
- Test hero images separately because they have the biggest performance impact.
- Watch both visual quality and dimensions. Sometimes resizing matters as much as compression.
Final thoughts
Compression is one of the simplest high-impact improvements you can make to a website or image workflow. You do not need to destroy quality to get meaningful savings. You just need the right balance for the way an image will actually be used.
If you want a fast, private way to reduce image size for the web, try our free Image Compress tool. It helps you compress JPG, PNG, and WebP files directly in the browser, with clear results for file size and savings.