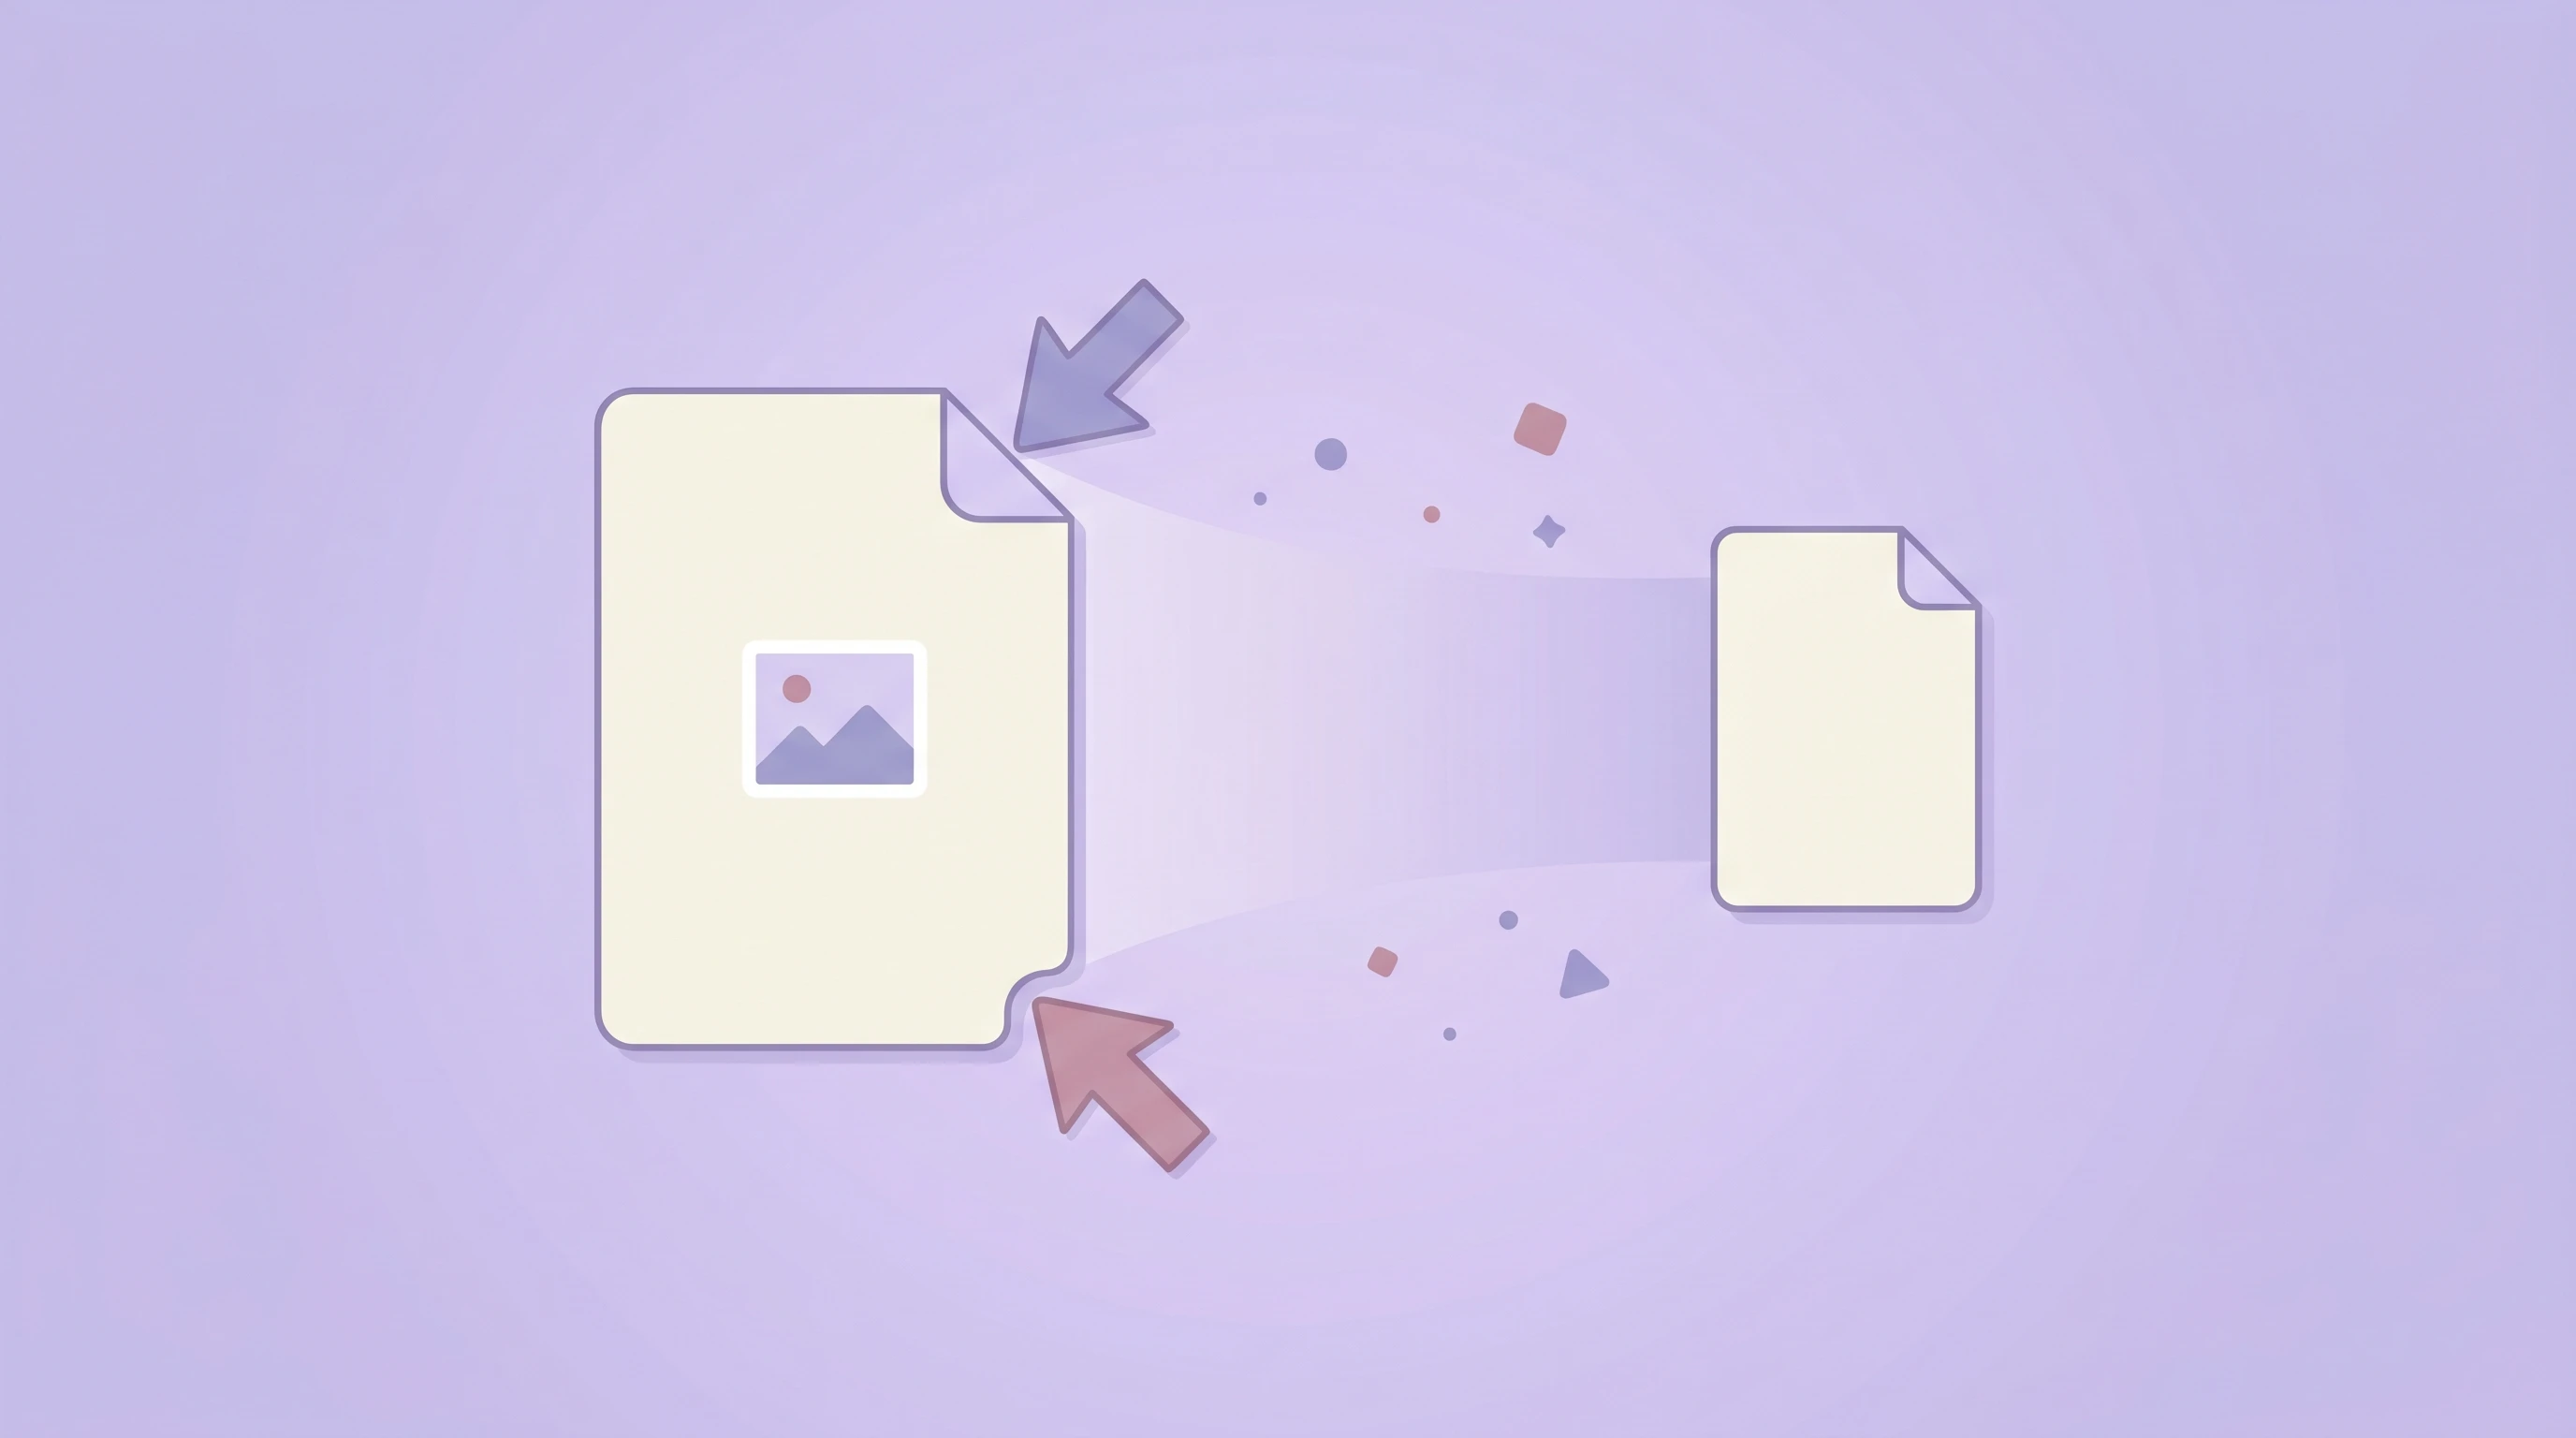
Cropping is one of the most powerful yet underestimated image editing techniques. A well-placed crop can transform a mediocre photo into a compelling image by removing distractions, improving composition, and directing the viewer's eye exactly where you want it.
In this guide, we'll cover the fundamental composition rules behind effective cropping, the most common aspect ratios and when to use each one, and practical tips for cropping images destined for web, social media, and print.
Why Cropping Matters More Than You Think
Many people treat cropping as a simple "trim the edges" operation. In reality, cropping is about recomposing your image after the fact. Every crop changes what the viewer sees first, how their eye travels through the frame, and what emotional response the image creates.
A tighter crop on a portrait removes background clutter and draws attention to expression. A wider crop on a landscape preserves the sense of scale. The right crop for a social media thumbnail is very different from the right crop for a hero banner.
The Rule of Thirds
The rule of thirds is the most widely used composition guideline. Imagine your image divided into a 3×3 grid of equal rectangles. The four points where the grid lines intersect are called power points — placing your subject on or near these points creates a naturally balanced, visually interesting composition.
When cropping, enable the grid overlay (most crop tools show this automatically) and position your main subject at one of these intersections rather than dead center. This simple shift can make an image feel more dynamic and professional.
The Golden Ratio
The golden ratio (approximately 1:1.618) has been used in art and architecture for centuries. In photography and design, it produces compositions that feel naturally harmonious. Unlike the rule of thirds, the golden ratio places the focal point slightly closer to center — about 38% from one edge instead of 33%.
You don't need to calculate the ratio precisely. The key takeaway is: slightly off-center placement almost always looks better than dead center, and the golden ratio gives you a more subtle, elegant offset than the rule of thirds.
Common Aspect Ratios and When to Use Them
Different platforms and use cases call for different proportions. Here's a practical reference:
1:1 — Square
Best for social media profile pictures, Instagram posts, and product thumbnails. The square format works well for centered subjects and symmetrical compositions. It's also the safest choice when you don't know how an image will be displayed.
16:9 — Widescreen
The standard for YouTube thumbnails, presentations, desktop wallpapers, and hero banners. This wide format emphasizes horizontal space and works well for landscapes, group photos, and cinematic compositions.
4:3 — Standard
A classic ratio used by many digital cameras and monitors. It strikes a balance between width and height, making it versatile for web content, blog images, and general-purpose use.
3:2 — Classic Photography
The traditional 35mm film ratio, still used by most DSLR and mirrorless cameras. It's slightly wider than 4:3 and is ideal for printed photos, photography portfolios, and editorial layouts.
9:16 — Vertical / Stories
The format for Instagram Stories, TikTok, YouTube Shorts, and any full-screen mobile content. When cropping for vertical, keep the most important content in the center third of the frame, since the top and bottom may be partially covered by UI elements.
Cropping vs Resizing: What's the Difference?
These two operations are often confused but serve very different purposes:
- Cropping removes pixels from the edges, changing the composition and reducing the total pixel count. It does not affect the quality of the remaining pixels.
- Resizing changes the dimensions of the entire image (scaling it up or down) without removing any part of the composition. Scaling down is generally safe; scaling up can introduce blur.
In many workflows, you'll want to crop first, then resize. Crop to get the right composition and aspect ratio, then resize to fit the exact pixel dimensions your platform requires. Our free Crop Image tool handles the first step, and the Resize Image tool handles the second.
Practical Cropping Tips
- Don't crop too tight on faces — leave breathing room above the head and around the chin
- Avoid cutting at joints — cropping at the wrist, elbow, or knee looks unnatural; crop mid-forearm or mid-thigh instead
- Lead the eye with space — if a person is looking left, leave more space on the left side of the frame
- Straighten the horizon first — a tilted horizon is instantly noticeable and distracting
- Check the edges — look for distracting elements at the border of your crop that could pull attention away from the subject
- Work from a high-resolution source — the more pixels you start with, the more freedom you have to crop aggressively
How to Crop Images Online
The fastest way to crop an image is with a browser-based tool. Our Crop Image tool lets you upload any JPG, PNG, or WebP image, choose from preset aspect ratios (1:1, 16:9, 4:3, 3:2, 9:16) or drag a freeform selection, and download the result instantly.
Everything happens locally in your browser — your image is never uploaded to a server. This makes it fast, private, and works even offline after the page has loaded.
Pro tip: Start with "Free" crop mode to find the best composition, then switch to a preset ratio to lock in the exact proportions you need for your platform.
Conclusion
Good cropping is about intention. Every pixel you include in the frame should serve a purpose — drawing the viewer's attention, establishing context, or creating a mood. The composition rules we've covered here (rule of thirds, golden ratio, aspect ratio selection) are guidelines, not hard rules. Use them as starting points, then trust your eye.
Ready to put these tips into practice? Try our free Crop Image tool — it supports all the aspect ratios covered in this article and works entirely in your browser.